
Baking is one of my ways to show my love and appreciation, even in miniature form...
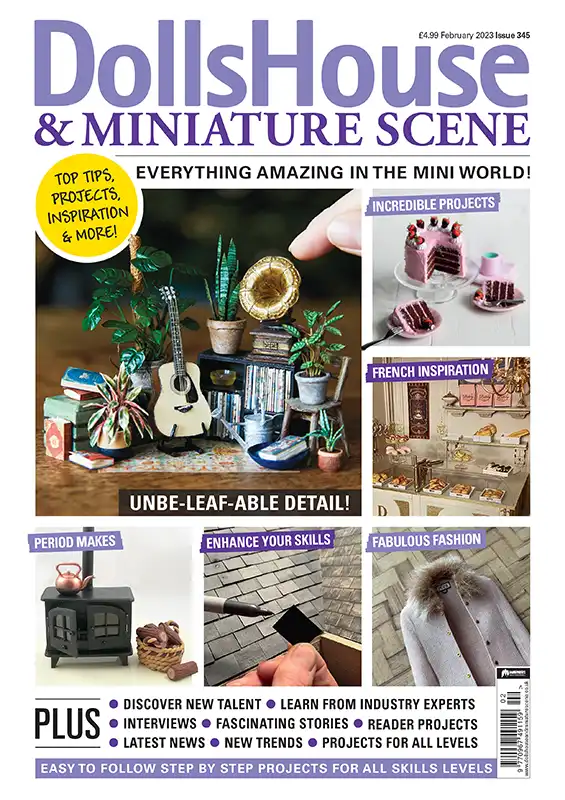
So for the February 2023 issue of "Dolls House & Miniature Scene" magazine, I made this Valentine's Day chocolate and strawberry cake, with tiny chocolate dipped strawberries.

What's in this Issue?
For those who filled in our reader survey at the end of 2022 either through our social media or sent it in through the post, we have gathered all the results and you’ll be seeing some fabulous additions to the magazine throughout 2023! The main point to notice was that you’d love to see even more projects, so that is certainly going to happen!
This issue, you’ll find two Valentine’s treats to adorn your kitchens or dining tables; Maive Ferrando’s chocolate cake on page 6 and Sadie Brown’s heart shaped shortbread on page 8 – they look good enough to eat! Moi Ali has not one but two projects that are full of top tips; stonewalling made easy plus her new project series helping to brush up on making your house the best it can be by making it more realistic – this issue focusing on the roof!
Now back to us and our chocolate cake, here's what you'll need...

Tools & materials:
- Polymer clay in white, red, dark brown, yellow, translucent and green
- Liquid polymer clay
- Blades
- Craft knife
- Small embossing tools
- Needle tool
- Small round cutter
- Pasta machine (or rolling pin)
- Small paintbrushes
- Toothbrush
- Acrylic paint in brown
- Water-based gloss varnish
- Toothpicks
- Tin foil
- Miniature ceramic plates (optional)
As always, the tutorial includes both written instructions as well as step by step photography to guide you through the whole process, so even if it's your first time making a cake from polymer clay, you won't be alone. I'm not saying it's going to be easy or that it'll come out perfect, because making polymer clay cakes that you absolutely love takes practice.
My cakes aren't perfect and it took me a long time to accept them the way they come out looking, of course the more you practice, the more your own hand will shine through and that is what it's all about!
There's one thing I wanted to mention about the project in case it happens to you too, whether it's with this project or a previous one and you don't know what you're doing wrong, so you don't know what you need to change.

If you look at the cream just below the strawberry you'll notice that is a dark pink/reddish colour. This was originally white like the rest of the cream directly adjacent to it.
You might be wondering what happened here?
In my experience, I noticed that liquid polymer clay absorbs the acrylic paint it's sitting on. In this case the red from the strawberry. This happened to me many times before, but it had not happened in a while because I figured out a way to prevent it, only this time I forgot to do it! No biggie though. I decided to leave it as it was, as the red looks like juice from the strawberry mixing in with the white cream.
But let me tell you a little secret on how to prevent this from happening.

There's nothing more frustrating that the liquid polymer clay picking up unwanted colours and having to adjust the course of your project, I get it. It only happens with light colours of course, as it is only through light colours that the difference in colour will show. But I found a way to prevent this from happening and save you lots of time and potential tears.

What's worked for me all these years is water-based varnish. Apply a coat to the element that you've painted (in this project it would be the strawberry) and let it dry completely. Then add the liquid polymer clay. This will act as a barrier between the paint and the liquid polymer clay and the latter won't absorb any of the colour.
One layer of varnish works for me (every time), but you can apply a couple of layers if you like, just to be on the safe side. But under no circumstances do leave the liquid polymer clay sitting on the acrylic paint unbaked for prolonged periods of time as this may actually seep through the varnish and still be able to absorb the colour.
If you're unsure whether it will work or not, I recommend that you try it on something else first, something you don't mind ruining (like something that's already ruined!) and wait to see what happens. The materials I use may differ from yours, so results may always vary.

That said, I hope you'll give this yummy cake a go and that you'll enjoy sculpting it and that you'll find this little tip useful.
Have a lovely Valentine's and I'll catch you next time,
Chau Chau,
Mai